Developer: Bethesda Game Studios
Release date: May 19, 2016
Platforms: PC
Description:
Far Harbor is the third DLC for Fallout 4. In the Far Harbor DLC, you take on the new case of Valentine's Detective Agency and go in search of a young girl and a secret colony of synths. You'll travel from the coast of Maine to the mysterious Far Harbor Island, where high levels of radiation have made the fauna even more dangerous. Play your part in the conflict between the synths, the Children of the Atom and the locals. Can you bring peace to Far Harbor - and at what cost? The Far Harbor expansion is the largest expansion Bethesda Game Studios has ever created. It contains many new quests, settlements, deadly enemies and dungeons. Powerful new weapons and armor will help you become stronger. The choice is yours.
Update: release (from 09.29.2016)
- Updated DLCCoast file - Main.ba2
- Some corrections have been made, which Arbor did not notify.
Update: release (from 09.21.2016)
- Updated files DLCCoast - Textures.ba2 and DLCCoast - Main.ba2, which was changed The gazebo did not notify.
Update: release (from 05/19/2016)
- The release contains updated files that differ from those that were in the beta version.
A more detailed guide to what the Far Harbor DLC is all about
Discussions and solutions to issues on our forum
What to do:
In order to begin the Far Harbor DLC quests, you will need to complete the Revelation quest from the main game.
Alternatively, you can get to the island in other ways: you can get there without even meeting Valentine.
They can give you a task there, for example, Underground. Kill everyone on Randolph's instructions. You also go to Kasumi’s house, talk with her parents, only Valentine and the detectives are not mentioned in the conversation. You just offer help and that's it. (thanks for the tip)
New in the Workshop:
- New designs have been added to the Workshop: a prefabricated barn with all the components, fishing gear, decorations on the walls, a basket with fish, some kind of arch for a lobster, and so on...
New achievements:
- This Far Harbor DLC adds 10 new achievements: New England Vacation, On the Hook, Fighting the Fog, Just Add Salt Water, Islander's Almanac, Cleansing the Land, Far from Home, Finding Your Place, The Way Life Should Be, A Family Affair.
Requirements:
Fallout 4 version 1.5.157.0 and higher
Installation:(can be done manually or through NMM manager)
Download the archive, place all the contents in the game folder, activate in the NMM manager.
Please note that the archive contains the file steam_api.ini, do not install it, since this file is in the .
Method No. 1: installation via NMM manager:
1. Download and install NMM manager.
2. Go along the path “My Documents/My Games/Fallout 4”. There will be several .ini files in this folder
3. Open the Fallout4Prefs.ini file and look for the line. Directly below it there should be a line: (if not, then add)
Without a dot
bEnableFileSelection = 1
. (no dot)
bInvalidateOlderFiles=1
sResourceDataDirsFinal=
Method No. 2: activating mods directly in the game itself (starting with patch 1.5, official support for mods has been added):
1. You must have a registration and account on the Bethesda website
2. Next, you simply download mods from the Nexus or from websites, install the mods according to the installation description, on our website, for example, in each mod description there is an installation description.
3. Next, launch the game, go to the “Modifications” section in the game menu, you will be prompted to enter your username and password (this is the data from your account on the bethesda website), select the “Load Order” option and you will see the entire list of your installed mods, activate them if the checkboxes are unchecked and you can also sort the esp order. files.
4. That's it, you can play.
Method number 3: manual installation of mods (if you don’t like NMM manager and don’t use mod activation in the game itself):
1. Go along the path “My Documents/My Games/Fallout 4”. There will be several .ini files in this folder
2. Open the Fallout4Prefs.ini file and look for the line. Directly below it there should be a line: (if not, then add)
. (no dot)
bEnableFileSelection = 1
. (no dot)
bInvalidateOlderFiles=1
sResourceDataDirsFinal=
6. Save and close the document.
7. Next, you simply download mods from the Nexus or from websites, install the mods according to the installation description, on our website, for example, in each mod description there is an installation description.
8. After installing the mod, go to the path/drive C/users/own account/App Data/Local/Fallout4/plugins.txt (right-click on this file and look at the properties. Uncheck the read box, close and save). We enter all esp into the plugins.txt file. files from installed mods, before each esp. there should be an asterisk. For example:
# This file is used by Fallout4 to keep track of your downloaded content.
# Please do not modify this file.
*DLCRobot.esm
*DLCworkshop01.esm
*DLCCoast.esm
*SettlementKeywords.esm
*ArmorKeywords.esm
*Unofficial Fallout 4 Patch.esp
*CBBE.esp
*LooksMenu.esp
*THBrows.esp
*BuildableBurningCampfires.esp
*SMC.esp
9. Save the file and play.
In this article I will tell you how to install mods (modifications and add-ons) for the game Fallout 4, I will list and clearly explain all the methods for installing mods, I will also describe several common problems and options for solving them. If you don’t know how to install mods but really want to play Fallout 4 with mods, read this article.
What is needed to install mods?
1) Installed game Fallout 4, it is advisable to know the version of the game, the list of installed DLCs. (the game version is displayed in the game menu - settings, bottom right)
2) It is advisable to have the latest or fresh version of the game.
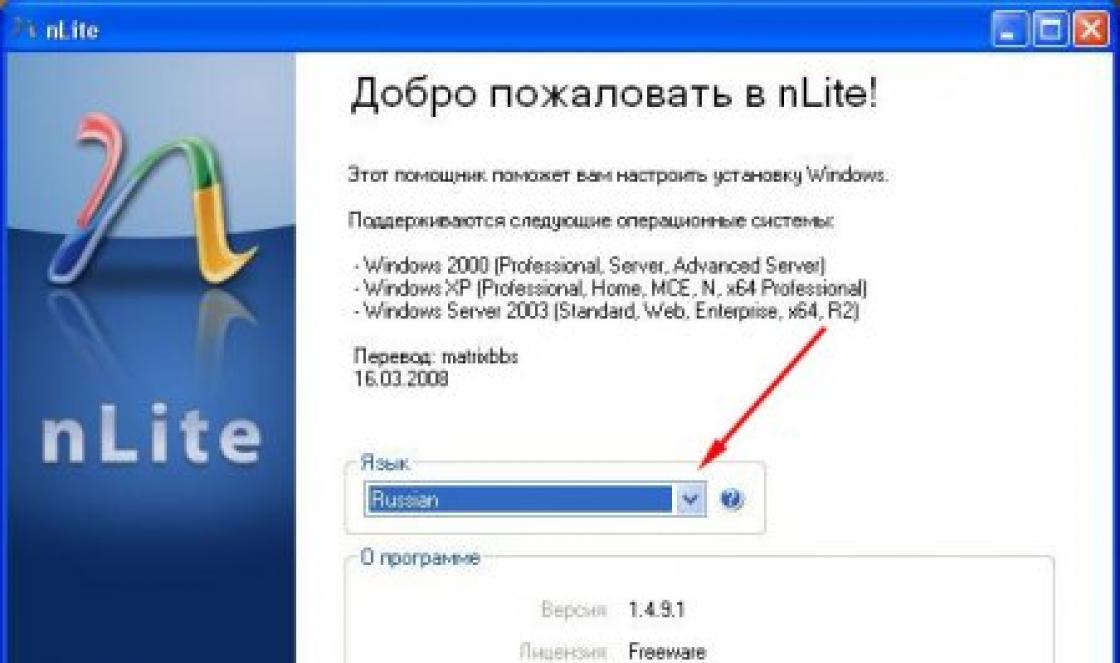
3) Have installed (a program for opening archives).
Let's start installing mods:
Always carefully read the comments on the installation of each specific mod, many of them have certain features or nuances.
There are 2 ways to install mods on the game:
1) Automatic using the mod manager.
2) Manual.
Each of these methods has its pros and cons, some mods do not support the mod manager, other mods are more difficult and longer to install if installed manually.
Automatic installation via NMM manager:
1) Download and install2) Open C:\Users\your_pc_user\Documents\Fallout 4. (or C:\Users\your_pc_user\Documents\My Games\Fallout4)
3) Find the file Fallout4Prefs.ini
Finding the line
bEnableFileSelection =1
4) Save and close the document.
5) Open file Fallout4Custom.ini
bInvalidateOlderFiles=1
sResourceDataDirsFinal=

Save the file and close Notepad.
6) Read how to use, how to install mods using .
Manual installation of mods:
There are 2 types of mods, resource and plugin, mod files of both types must be copied to the \Fallout 4\Data folder, plugin mods have the extension esp or esm, they must be connected by writing their names in a specific file. (read how this is done below).1) Open C:\Users\your_pc_user\Documents\Fallout 4. (or C:\Users\your_pc_user\Documents\My Games\Fallout4)
2) Find the file Fallout4Prefs.ini using notepad or Notepad++ (recommended).
Finding the line
There should be a line immediately below it bEnableFileSelection =1, if the value is 0, change to 1, if there is no line, add.
3) Save and close the document.
4) Open file Fallout4Custom.ini, If this file no, then create it text document with the name Fallout4Custom, change the txt extension to ini. (if not available, google how to enable the ability to change the file extension).
The file you should get is Fallout4Custom.ini (not Fallout4Custom.ini.txt).
Open it with notepad and write there
bInvalidateOlderFiles=1
sResourceDataDirsFinal=
5) Save the file and close Notepad.
6) Download mods from our website, for each mod there are specific explanations of which files to copy where and other actions that need to be performed.
Enabling (connecting) plugins:
After you have done all the instructions above, you downloaded the mod files themselves, copied them according to the installation instructions in each news. if the file has an extension esp or esm then you should do the following:For modern versions of the game (from 1.5):
Enter the game, select the modification section:
You will probably have to register on the bethesda website, this is removed in some pirated repacks.
Choose Loading order Select the desired mod in the menu on the left, click activate.
Ready.

If you have old version games (before official mod support):
1) Open the folder
C:\Users\your_pc_user\AppData\Local\Fallout4
If you can't find the AppData folder in the C:\Users\your_user_pc\, it means your display is turned off hidden folders and files.
You can enable display, .
Or press START - enter %APPDATA%\ in the search bar (Win7), you will be taken to the \AppData\Roaming folder, click on AppData
2) Find the file plugins.txt, right-click on it, select properties.
Uncheck " read-only".

3) Click the Apply button and OK.
4) Open the file with notepad, immediately after the line Fallout4.esm you need to insert the full name of the downloaded mod with the extension, for example LooksMenu.esp
5) Save the file, right-click on the file again, properties, and set the " attribute again Read only".
Bethesda today released the Automatron DLC for Fallout 4, which will bring several new mechanics to the game, as well as add additional characters in the form of an army of robots that regularly attacks the Commonwealth.
- Where can I get the Automatron DLC? To add the expansion to the original game, you'll need to purchase it separately or get it as part of the Fallout 4 Season Pass, which you may have previously purchased. After that, you just need to download and install the DLC. Please note that if you are a PlayStation 4 user, the Automatron DLC may become available slightly later than on other platforms. Once the add-on is available, you will see it in the game menu and can download it without having to search for it on the PlayStation Store.
- How can I check the installation was successful? Once the add-on is installed, launch Fallout 4, but do not rush to load existing game saves. First, go to the addons section, which should have appeared in the main menu of the game. If Automatron is on the list, then everything has been done correctly and you can start launching and passing. If the add-on is not displayed, we recommend checking whether you are authorized by your account. Log in if necessary and restart the system.
- How to start a mission? Once you get into the game, you'll need to complete the introductory section to gain access to the DLC content. In other words, get to the exit from Vault 111, or simply load the previously saved game progress. Anyway, you can find and launch special missions from the Automatron DLC from the list of quests provided in your Pip-Boy. Please note that the missions of this add-on are designed primarily for players with a level above the initial one, so it’s clearly not worth rushing to complete new quests until you at least leave the shelter.
- How to get a mission assignment? When you're ready, all you have to do to start the mission is find and listen to the special radio message in the appropriate section of the Pip-Boy. You can listen to it from anywhere in the Commonwealth. After listening, your quest list will be updated and the mission will begin.
- How to find Wattz Consumer Electronics? This may not be so simple, especially considering that you can listen to a message on the radio in any location, and the marker does not always appear on the map. In a radio message you will hear that the attack occurred near Wattz Consumer Electronics. If you have never been to those places or simply forgot where they are located, then it is north of the ruins of the Technological Institute. The screenshot below shows a map showing exactly where it is. If you find it difficult to understand which part of the map is shown on the display, pay attention to the recognizable marker of the Diamond City. This will help you get your bearings. The picture is clickable.

Hello to all fans of the game Fallout 4. In this guide, I will tell you how to install mods for the game Fallout 4 correctly and without errors. To avoid errors after installing modifications, strictly follow the instructions located just below. There are two types of installing mods in the game Fallout 4: manual and automatic. Let's get started!
To install mods automatically in Fallout 4, you will need the Mod Manager program. Thanks to it, you can easily install various modifications to the game, and you do not have to manually make changes to the configuration files.
How to use Mod Manager?
- Download Fallout4 Mod Manager from our website;
- Unpack the downloaded archive and run Fallout4ModManager.exe;
- Click on the “Install” button, then select the archive with the mod on your PC;
- After selecting the mod, click on the “Install” button again.
- Next will happen automatic installation fashion for the game Fallout 4;
- Place a checkmark next to the desired mod in the left window to activate it. See screenshot below.

Manual installation Mods for the game Fallout 4 differ from automation, and are divided into two types: plug-ins and resource ones. Resource mods are files and folders that are copied to the root folder of the game called “Data”. Plugins also need to be moved to the same folder, but in addition they also need to be connected. Now we will look at an example of installing these types of modifications in the game Fallout 4.
For mods to work, the first thing you need to do is set up the game configuration files. An example is given below:
- Go to the folder: C:\Users\Username\Documents\My Games\Fallout4.
- Using notepad, open the Fallout4Prefs.ini file.

We are looking for a structure in the file with the title . The main thing is that the line is written there: bEnableFileSelection=1. If this line is not there, then we write it manually ourselves. See screenshot below.

- Open the file with notepad ini, which is located in the same folder and find the design with the title .
- In this design, find the line sResourceDataDirsFinal=STRINGS\.
- Replace the found line with the following: sResourceDataDirsFinal=STRINGS\, TEXTURES\, INTERFACE\, SOUND\, MUSIC\, VIDEO\, MESHES\, PROGRAMS\, MATERIALS\, LODSETTINGS\, VIS\, MISC\, SCRIPTS\, SHADERSFX\
- Save your changes and close the file.
Now you know how to install resource mods in the game Fallout 4. If you find the Data folder in the archive, then move it to the game folder, agreeing to the replacement.
Installing plugins for Fallout 4
Plugins include ESP and ESM files. They are moved to the Fallout 4/Data folder, as well as resource folders. But they need to be connected. See example below:
- We are looking for a file called plugins.txt, which is located C:\Users\Username\AppData\Local\Fallout
- Right-click on the file and select “Properties”
We find the inscription “Read only”, uncheck the box and click apply. See screenshot below.

- Using notepad, open the file and immediately after the line Fallout4.esm, insert the full name of the mod. For example: LongerPowerLines3x.esp. Look at the screen below:

- Save and close the file
- Set the “Read Only” attribute for the plugins.txt file
- We play our favorite game.
Video instructions for installing mods for Fallout 4