If someone is interested in this instruction, they will find it, since the topic is quite simple and there is nothing special to explain here. But let's start with the fact that many novice users still do not know many of the nuances of working with a computer. In this article we will look at how to take a screenshot, what is needed for this and where the pictures taken are saved.
What keys do you use to take screenshots?
In order to take a screenshot from the screen, you can use all the same keys Windows+PrintScreen. This works on all Windows families.So let's press the keys Win+PrtScr. So we took a screenshot, which is located along the way "Images" And "Screenshots". You can simply press the PrtScr key, then the picture will be copied, as it were, and you can paste it, for example, into Paint using the Ctrl + V keys.
The disadvantage of the first method is that the entire area of the screen is captured, and not some individual area, and sometimes this is necessary.
PrintSrin key and Alt+PrintScrin combination
As I said just above, if you press the PrintScrin key, the image is not created, but it is copied to the clipboard. Then you can paste it wherever you want.
If you need to take a screenshot of a specific window, then to do this you need to press the combinations Alt+PrintScrin.

Scissors program
Windows 10 has an interesting utility "Scissors". Using it, you can take various screenshots of a certain size, you can select an area, and you can make notes on the image using special tools.
Enter the phrase in the search "Scissors" and open the application.
Select the options after which you will take a screenshot.
Now click "Create" and select the area you want to capture.

The program supports cloud storage Google Drive (the ability to receive shared links), DropBox, Yandex.Disk and uploading a screenshot to an FTP server. If necessary, you can send a screenshot by e-mail immediately after creating or editing it.

The tools in the ScreenShooter editor include arrows, lines, shapes with the ability to change their thickness and color, as well as adjustable blur/shadow and adding text. By the way, the text style and its size and color can also be changed.
ScreenShooter does not leave watermarks and allows you to save individual hotkeys in the settings. The program is translated into 10 languages, does not take up much space and installs quickly.

Third-party programs for taking screenshots
There are quite a lot of programs for screenshots, for example, LightShot, PicPick, Joxi and many others. Each has many useful and not so useful functions. I won’t dwell on them; if anyone is interested, download them and see their usefulness.
So we figured out how to take a screenshot on a computer using standard Windows tools. That's all. I wish everyone good luck in their computer endeavors.
Many people know how to take a screenshot on a Windows 10 computer.
- Poke PrtSc (top right part of the keyboard). The screenshot will appear not on the hard drive, but in the RAM, on the clipboard. This is a kind of “pocket” in RAM. When you turn off the computer, the buffer is cleared and the photo will disappear. Therefore, remove the screenshot from memory and write it to a hard drive or flash drive.
- Find a program for working with drawings. The simplest is Paint. Use the Windows search bar.
- Click on the “Insert” icon (bar at the top) or press Ctrl + V or Shift + Insert (keyboard). The photo appears in the program window and now you can transfer it to storage media or change it.
Another way is Win+PrtSc on the keyboard

Here you will already do without special software. However ? You can find the screen at My Documents/Pictures/Screenshots/

If you are lost and don't know how to take a screenshot on Windows laptop 10, then a careful look at the keyboard will help you. Same keys, right?
How to take a screenshot of the active window
Sometimes we don’t need the entire screen, but only screenshot the open window. To take a screenshot on a computer, you need the Alt+PrtSc key combination:
- Open the window that we are photographing.
- Click on it and the bar at the top will turn blue - you have made it active.
- To take a screenshot on Windows computer 10 use the combination Alt+PrtSc. Do not try to press them at the same time: first ALT, and then, holding it, Printscreen.
- Repeat steps 2 and 3 from the previous section.
How to take a screenshot of part of the screen
This is what “Scissors” is for. 
- Type “Scissors” in the search bar. The name and icon of the program will appear below it. Click to open.

- Click the Create button and select a form.
- The mouse pointer will turn into scissors, and the image on the display will become translucent. Hold down the left button and circle the part you want.

- To transfer to media, click the “Save As” command in the “File” menu. Any format: JPG, PNG, GIF and MHT.

Settings Print Screen Windows 10 on a laptop, if clicking on PtrSc does not create a screenshot, click the Fn button. Hold it down and then Princescreen again. And everything will work out.
Many new users do not know how to take a screenshot on a Windows 10 computer. We will look at all the methods.
1. Print Screen button
The first method is the simplest and involves pressing the Print Screen button on your keyboard. It most often has an abbreviation, for example, PrtScn, PrtScr or PrtSc. It is always located at the top right.
Here, for example, is what this button looks like on an HP laptop.

Rice. No. 1. Print Screen button on HP
After this, the photo will be placed on the clipboard. To see and edit it, open some photo program, such as Paint, and press Ctrl + V. Clicking the Edit and Paste menu may also work.
Important: This and other options will also work on a tablet. You just need to launch the on-screen keyboard and press necessary buttons. And also in different models Tablets have their own button combinations for taking a screenshot. Read the instructions.
2. Alt + Print Screen
You can also press not just Print Screen, but this button together with Alt. Then the buffer will not contain a screenshot of the entire screen, but only the active window, that is, the one in which you are currently working.
For example, if you have a folder open, then the buffer will not contain the entire desktop, but only the folder.
3. Win + Print Screen
The above options were also in previous versions Windows. Now let's move on to what is only in the top ten.
For example, this is the ability to press Win + Print Screen. Then the screenshot of the entire screen will be immediately saved to the “Images” folder (a “Screenshots” subfolder will appear in it).
The Win button is always located at the bottom left. It has the Windows logo on it. Here's an example of what it looks like on Acer.

Rice. No. 2. Win button on Acer
4. Win + Shift + S
This combination allows you to select the fragment that you want to capture. After pressing Win + Shift + S, the cursor turns into a cross, upon pressing which the selection of the area begins. Simply select what you want to photograph.
In other words, this tool allows you to select an arbitrary area of the screen, rather than the active window, folder, or entire desktop.

Rice. No. 3. Selecting a custom area
5. "Scissors"
Windows 10 also has a built-in program called “Scissors.” It makes it possible to take screenshots, even with a delay, and edit them.
Just use the search to find "Scissors", click "Create" and choose the shape of your photo (rectangle, full screen or free form).
Select the area according to the selected option. Then the photo can be edited and saved.

Rice. No. 4. Working with the Snipping Tool
Also in the top ten there is the so-called game panel. It is launched by pressing the Win + G buttons. And then you can take a screenshot or record a video from the screen and edit it all.
Rice. No. 5. Game bar
There are such ways to take a screenshot on Windows 10.
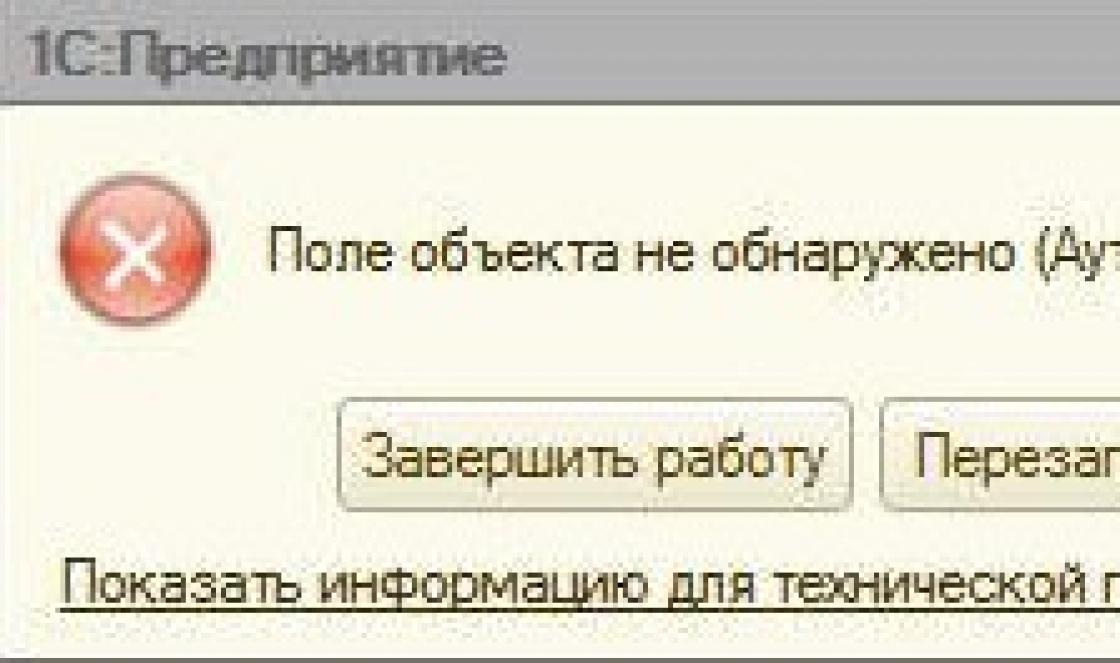
Or a separate PC work area, which the user selects independently or sets in the program settings. Screen is needed in order to save a certain error, system information, notification in the image, which will then be provided to a specialist for analysis and further solution to the problem. This is the main purpose of screenshots. However, users can often use them to share photos and pictures on a social network. Therefore, we suggest considering ways to take a screenshot on a Windows 10 computer using a standard utility and third-party programs.
How to take a full screen screenshot in Windows 10?
There are several ways to take a screenshot of your desktop or the entire Windows 10 screen. Let's look at those that can be done without using third party programs.
Method 1. Take a screenshot using your keyboard
To take a photo of the entire desktop in Windows 10, you should click on the “Win + PrtSc” button. The file will be placed at: “This PC”, “Images”, “Screenshots”.
If you need to immediately send the captured screen to another person, you need to press “Win + H”. WITH right side A small window will appear with a list of programs that can be used to transfer the image.
If you need to take a full-size photo and edit it immediately, then you just need to click “PrtSc”. The photo goes to the clipboard. Open the Paint program, press “Ctrl+V” and edit the photo.
IMPORTANT! If you cannot take a screenshot using the keyboard, then you need to enable this function in the settings. To do this, open “Options”, “Special Features” and select “Keyboard” from the menu on the left. Here we drag the slider to the “Enabled” position


Method 2. Taking screenshots using the desktop app
Microsoft has developed a tool that can be used to take screenshots. This is the screenshot manager Snip or better known as Snips.
If the first application in Windows 7 and 8 previously allowed you to take pictures of the entire screen and parts, then Snip in the Ten also allows you to record video from the screen.
In order to use Snips in Windows 10, you need to enter Snip in the search bar.


Save the file.
How to take a screenshot of a specific part of the screen on a Windows 10 computer?
If you don’t need the whole image, you can save only part of the screen. To do this, you can go to the Notification Panel and select “Screen fragment” (or through “Start”, “Accessories”).

Also from spring Windows updates 10 users now have the ability to select the area of the screen they want to save. To do this, press the key combination “Win+Shift+S”. The screen will turn gray. Only a cross will appear to highlight the desired area.
In Windows 10, when you press the Win + G key combination while a game or program is running and maximized to full screen, the game bar with several buttons is launched. You can click on “Screenshot” or type the combination “Win + Alt + Print Screen”.

More regular means It is not possible to select a specific area for screening. Perhaps, create a whole picture, and then edit it in Paint.
Third-party programs for taking screenshots
There are many ways to take a screenshot on a Windows 10 laptop using third-party programs. Among these we highlight:
To take a full-size screenshot or a snapshot of the active window, you need to install any of the above programs on your laptop, computer, tablet or phone, and then click on the “PrtSc” button to select the desired area.

We used Lightshot as an example. This program allows you to create a screenshot and edit it using frames, text, lines, colors, and removing elements. It also allows you to save a file, send it via a link, or print it.

In addition, Lightshot is compatible with Windows 10, and therefore there will be no problems installing and using the software.
How to edit a screenshot on Windows 10?
Most programs designed for creating screenshots already provide the ability to process them initially. In the programs presented above, you can already highlight the desired area with color, lines, letters, and remove unnecessary elements. If you need to radically change the screenshot, then you need to turn to Photoshop.
Let's look at an example of editing a screenshot in the PhotoInstrument program (of course, you can take any other one).
- Open the program. Click “Open” and select the file.

- The menu on the left will present tools for photo processing. There will be a functional menu at the top.

- If you scroll with the mouse wheel, you can zoom in and out of the photo. This is convenient if you need to edit a high-quality small detail.

- To delete an object, select the eraser.

- To adjust brightness and contrast, select the first two tools or a row below.

- In order to flip a photo or cut out a part from it, you need to select an element in the form of scissors (as indicated in the screenshot).

As you can see, this is the most simple program, which allows you to edit the screenshot. For professional processing The photo is no good. However, in this topic we're looking at ways to edit screenshots, not digital photos of models. Therefore, PhotoInstrument satisfies these needs completely.
Hi all! Many people have heard about the existence of such a thing as a “screenshot” or “screen”, but still some do not know what it is, let alone how to take it. Friends, a screenshot is a snapshot of your screen, that is, a snapshot of what is shown on the monitor in certain moment. Surely you have encountered more than once in social networks with the phrases “send a screenshot” or “provide a screenshot” or so on. In fact, taking a screenshot is as easy as pie, even in Windows 10. Let's take a look at it.
How to take a screenshot without third-party programs
The easiest way take a screenshot without any third-party programs - use standard windows tools 10. To do this, open what needs to be photographed (any window, desktop, program, etc.) and press the key combination Win+PrtScr,

The screenshot will be saved in the “Images” folder. Let's go into it, go to explorer and select images,

Now let's go to the "Screenshots" folder

and we see in it our screenshots taken. Capture the screen at least every second using the Win+PrtScr combination and all screenshots will be saved in this folder. In Windows 7, taking a screenshot is a little more difficult, you can read.
How to take a screenshot of a specific window in Windows 10
Friends, sometimes it is necessary take a screenshot of a separate window, instead of the entire desktop. You can, of course, take a snapshot of the entire screen, paste it into any graphics editor, cut it out and save it, but there is a much simpler option. Make the window you want to screen active and press the key combination Alt+PrtScr,
At this moment, the active window will be photographed and placed on the clipboard. Now let's open the graphics editor and insert a screenshot. In the search menu, find Paint and open it,

A program window will open graphic editor Paint, click on the "Insert" button,


How to take a screenshot in Windows 10 using a third-party program
Today there are a huge number of programs for taking screenshots. There are both paid and free versions. I will focus on only one of them, which I have personally been using for several years. It's called ScreenCapture, you can download it at http://www.screencapture.ru/download/
After downloading the program, open and install it,